Brand email addresses in Reach: what aliases can and cannot do
An alias lets one Google Workspace mailbox use a brand address when you send from Gmail yourself. Automated sends from Claude do not use it. Here is the setup, the limit, and what to do instead.
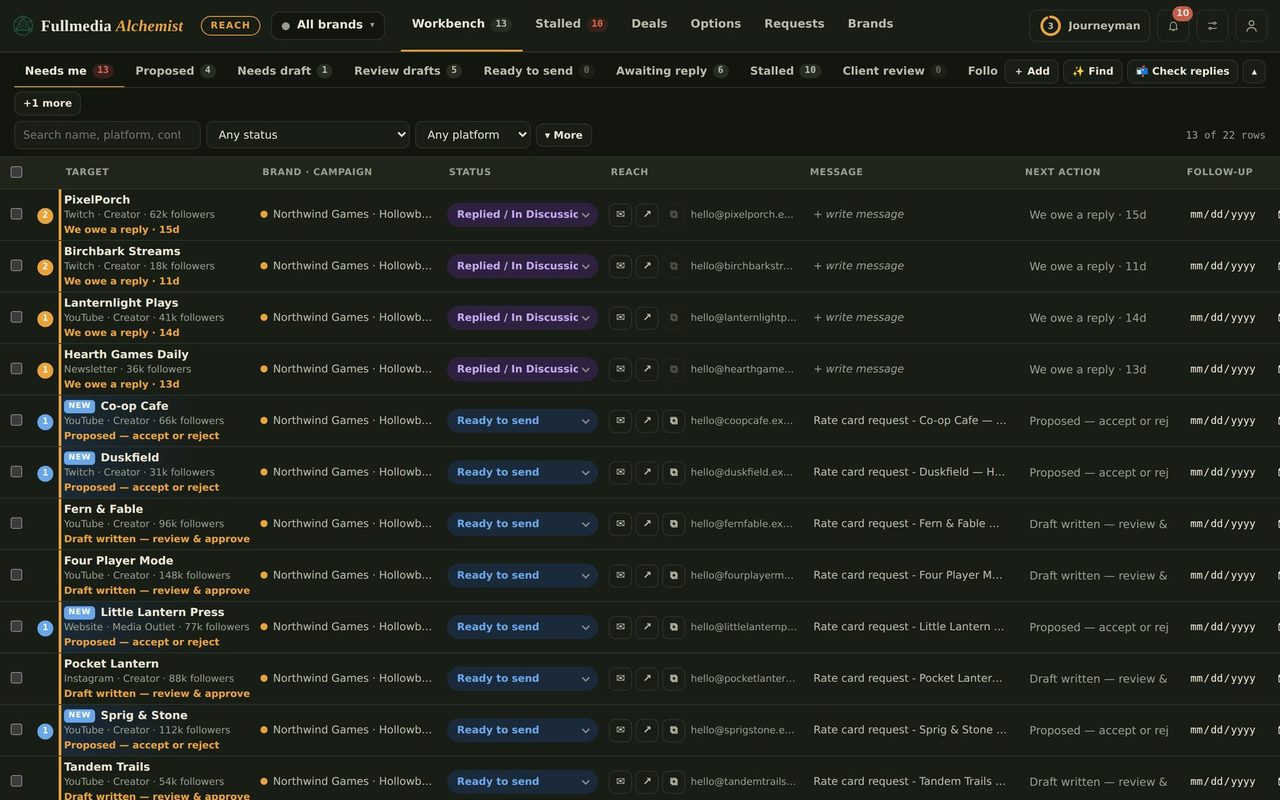
One Google Workspace mailbox can hold many brand addresses. Know where that works: when you write and send in Gmail yourself, you pick the brand address in the From box. When Claude sends for you through its Gmail connection, the message leaves from the Google account that connection is signed in to, because the connection has no From box. This guide covers the alias setup, then points to the routes that do work for automated mail.
 Correction, 17 November 2026
An earlier version of this guide, and of the posts linked from it, said Reach and Claude could send automated mail as a brand alias. That was wrong. Aliases work for mail you send by hand from Gmail. For automation, read how to send as each brand.
What you need
- A Google Workspace account (the paid kind, with an admin console).
- Admin access to it, or the person who has it.
- Each brand's domain, and a login to wherever that domain's DNS records live.
- Your Reach workspace with the brands already added.
Two routes: a plain alias, or an alias domain
If the brand address lives on your main domain (hello@yourcompany.com), you only add an alias to your user and can skip to step 3. If the brand has its own domain (readingrace.com), add that domain to your account as a user alias domain first. Google then gives you every alias name on every alias domain: add the alias dash once and dash@readingrace.com works, add wizard and wizard@spinquest.app works. That is why the alias name box in Admin only lists your main domain.
Choose a secondary domain instead only when a brand needs its own people and its own mailboxes. It costs a seat per user, which is the thing aliases let you avoid.
Try it on your own brandOne brand is free, with no card. Start free.
Step 1. Add the domain (own-domain brands only)
- Open the Google Admin console, then Account, Domains, Manage domains.
- Click Add a domain, type the brand's domain and choose User alias domain.
- Google shows a TXT record to prove you own it. Keep that screen open.
Step 2. Add the DNS records where the domain's DNS lives
Add the TXT record Google gave you (host @), then one MX record: host @, value smtp.google.com, priority 1. Then press Verify in Admin. It is usually quick; Google says it can take up to 48 hours.
Find the right DNS hostDNS lives wherever the domain's nameservers point, which is not always where you bought it. A domain bought at GoDaddy can have its nameservers at Vercel or Cloudflare. If a record you add does nothing, check the nameservers first. Also check that the domain is not already receiving mail somewhere else: this MX record sends that domain's mail to Google.
Step 3. Add the alias
- In Admin open Directory, Users, and click your user.
- Open Alternate email addresses (user information) and add the alias name, for example
dash. On an alias domain it applies to all of them. - Save. A change can take up to 24 hours, usually far less.
Google allows up to 30 aliases per user at no extra cost. An alias belongs to one user only. If several people must share an address, use delegation or a Google Group.
Step 4. Let Gmail send as it
Aliases that Workspace manages appear in the Gmail From list by themselves, within about a day. If one is still missing after 24 hours: Gmail, Settings, See all settings, Accounts and Import, Send mail as, Add another email address. Enter the name people should see and the alias, and keep Treat as an alias ticked. The verification link arrives in your own inbox.
These aliases are on your own Google account, so they are not affected by Gmail removing "Send as" for non-Google addresses from January 2027.
Step 5. Authenticate each brand domain
Do this before real outreach. Without it, mail from a brand domain is more likely to land in spam.
- SPF: one TXT record on the domain:
v=spf1 include:_spf.google.com ~all. A domain may only have one SPF record, so merge it into any existing one. - DKIM: in Admin open Apps, Google Workspace, Gmail, Authenticate email. Pick the brand's domain, generate the record, add the TXT at the host it shows, then press Start authentication.
- DMARC: a TXT record at
_dmarc:v=DMARC1; p=none; rua=mailto:you@yourcompany.com. Start with p=none and tighten later.
Step 6. Tell Reach which brand uses it
Open the brand in Reach, then Brand, Sender & signature. Set Sending email to your Google account (the mailbox that actually sends), Send-as alias to the brand address, and add the name and signature. A blank field uses your workspace default, shown in grey. When you open a draft in Gmail from Reach, it reminds you to set From to the brand address yourself. Automated sends do not use the alias field: they go out from the account Claude's Gmail connection is signed in to. See how to send as each brand.
Step 7. Check it
Send one message to yourself by hand from Gmail and look at the From line and the signature. If it shows your main address, recheck step 4. Claude automation is different: its test message will show the connected account, not the alias, so check that before you let it run a batch (see Claude automation).
Want automated mail from a brand's own address? Read how to send as each brand. Prefer not to click through the alias setup? Read let Claude add your brand aliases. Running many brands? See ten brands, ten addresses, one workspace, and read sending limits before you turn volume up.
Swipe or use the arrows.
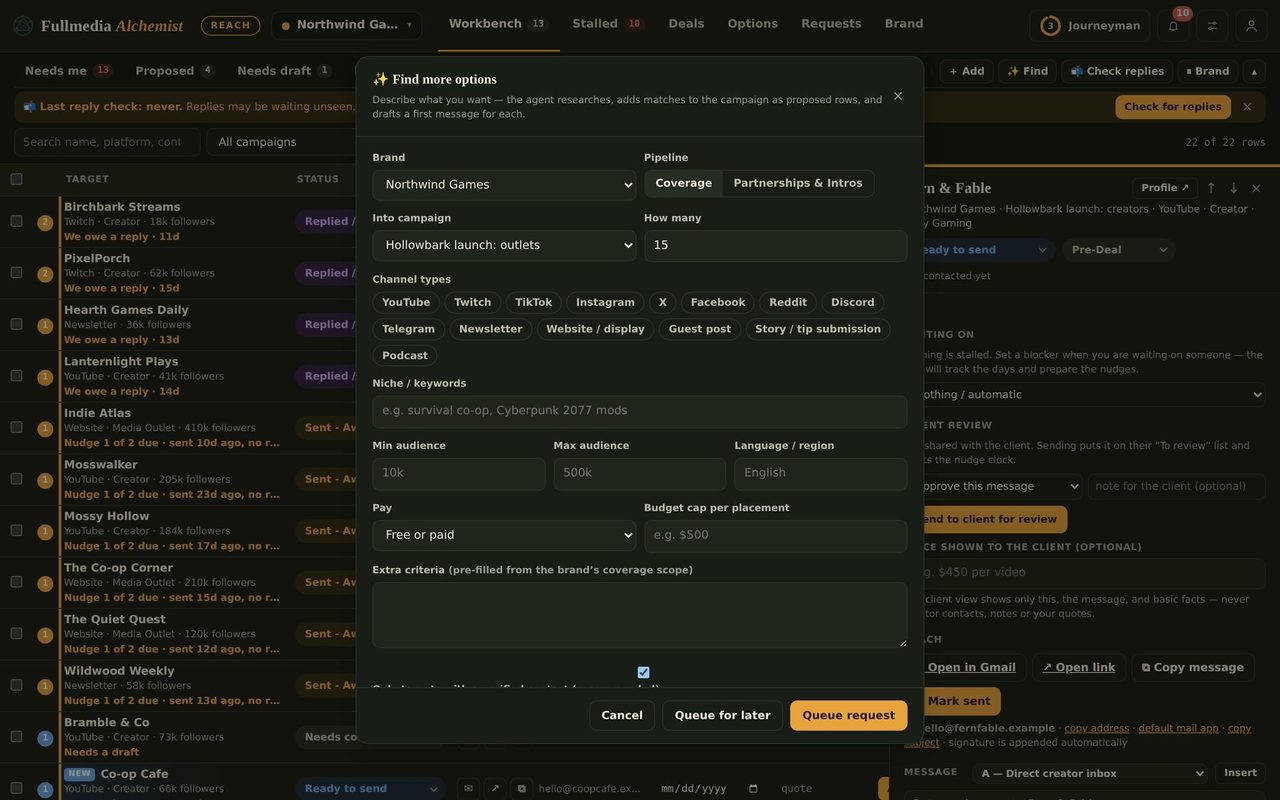
Give each brand its own sender.
Free plan available for one brand. No card.